
Grandma's Simmered Taro (Nikkorogashi) with a Melt-in-Your-Mouth Texture

This is a recreation of grandma's classic simmered taro — nikkorogashi! The secret is following the steps in order, and you'll get that beautiful glossy finish every time ♪
Ingredients
3 servings- Taro (satoimo)500g
- ★Japanese dashi stock powder1 tsp
- ★Soy sauce3 tbsp
- ★Sugar4 tbsp
- ★Mirin3 tbsp
Directions
40 min- 1
Place 500g of peeled taro into a wide-mouthed pot. Add the ★ seasonings — dashi stock powder (1 tsp), soy sauce (3 tbsp), and sugar (4 tbsp) — and toss to coat the taro evenly. Place over high heat. Do not add any water at this stage.
- 2
Continue cooking over high heat, stirring occasionally to coat the taro with the seasonings as they reduce. A little browning is fine — it adds depth of flavor, so keep an eye on it and adjust as needed.
- 3
Once the liquid has reduced, add just enough water or hot water to barely cover the taro. Place a drop lid (otoshibuta) on top and cook over medium-high to high heat.
- 4
When fine, vigorous bubbles appear and a skewer passes through the taro easily, add the mirin (3 tbsp), give it a quick stir, then turn off the heat. Cover with a lid and let it steam for a few minutes.
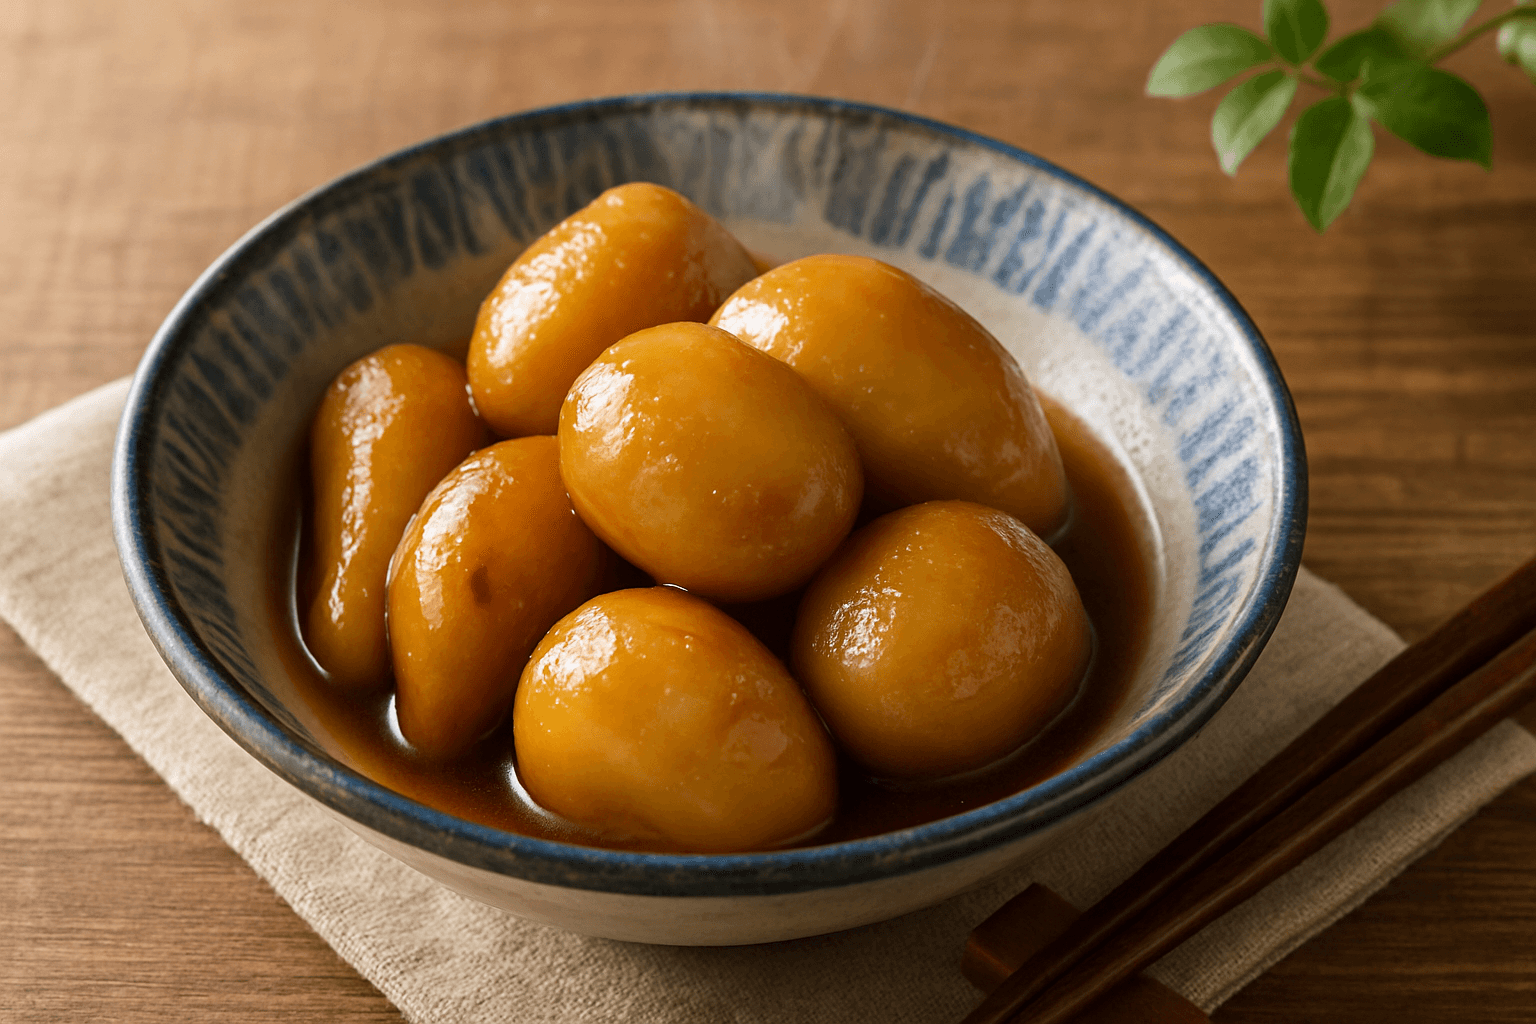
- 5
Your glossy nikkorogashi is ready! Letting it sit overnight will allow the flavors to meld and taste even better.
- 6
If the taro is not cooking through on high heat, adjust to medium-high and continue cooking while monitoring the pot.
Tips
The key is to add water later in the process — this prevents the dish from becoming watery and creates a rich, concentrated flavor even with a small amount of seasoning. Adding the mirin just before turning off the heat gives the finished dish a beautiful glaze and added depth.
Nutrition
Per serving- Calories126 kcal
- Protein2.5 g
- Fat0.2 g
- Carbs28.3 g
- Sodium1.4 g
Grandma's Simmered Taro (Nikkorogashi) with a Melt-in-Your-Mouth Texture
This is a recreation of grandma's classic simmered taro — nikkorogashi! The secret is following the steps in order, and you'll get that beautiful glossy finish every time ♪
Ingredients
3 servings- Taro (satoimo)500g
- ★Japanese dashi stock powder1 tsp
- ★Soy sauce3 tbsp
- ★Sugar4 tbsp
- ★Mirin3 tbsp
Directions
40 min- 1
Place 500g of peeled taro into a wide-mouthed pot. Add the ★ seasonings — dashi stock powder (1 tsp), soy sauce (3 tbsp), and sugar (4 tbsp) — and toss to coat the taro evenly. Place over high heat. Do not add any water at this stage.
- 2
Continue cooking over high heat, stirring occasionally to coat the taro with the seasonings as they reduce. A little browning is fine — it adds depth of flavor, so keep an eye on it and adjust as needed.
- 3
Once the liquid has reduced, add just enough water or hot water to barely cover the taro. Place a drop lid (otoshibuta) on top and cook over medium-high to high heat.
- 4
When fine, vigorous bubbles appear and a skewer passes through the taro easily, add the mirin (3 tbsp), give it a quick stir, then turn off the heat. Cover with a lid and let it steam for a few minutes.
- 5
Your glossy nikkorogashi is ready! Letting it sit overnight will allow the flavors to meld and taste even better.
- 6
If the taro is not cooking through on high heat, adjust to medium-high and continue cooking while monitoring the pot.
Nutrition
Per serving- Calories126 kcal
- Protein2.5 g
- Fat0.2 g
- Carbs28.3 g
- Sodium1.4 g
Tips
The key is to add water later in the process — this prevents the dish from becoming watery and creates a rich, concentrated flavor even with a small amount of seasoning. Adding the mirin just before turning off the heat gives the finished dish a beautiful glaze and added depth.